DIY Pine Desk Revamp
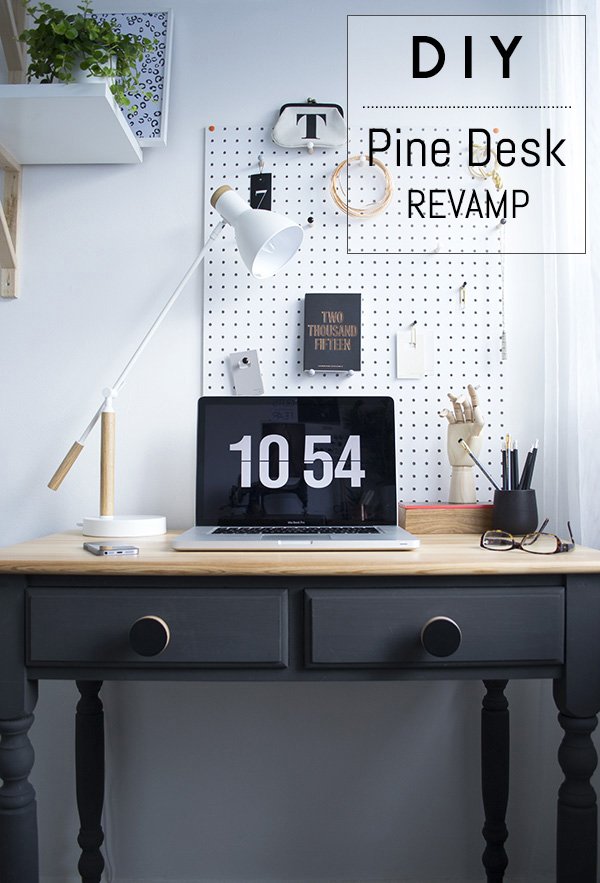 So today I thought I'd share a DIY with you to show how I transformed my old pine desk from the unloved, not-so-stylish specimen it was into the focal piece it is now. I've done a few DIY furniture projects in the past with varying degrees of success (don't ask me about the white and gold glitter bedside table. Please) But my style and tastes have done a fair bit of growing and maturing since then and I was ready to approach this one very differently, like it truly mattered. Honestly, when I started decorating my workspace my initial plan was to ditch the desk completely in favour of trestles with a baltic ply top to stretch across a full wall. But then the only trestles I could find were far too wide and as this room is only 2m x 2m...you get the picture. After a
 long short sulk, I put the trestles, the plywood and the hairpin legs to one side and looked at it objectively. The desk just needed some love...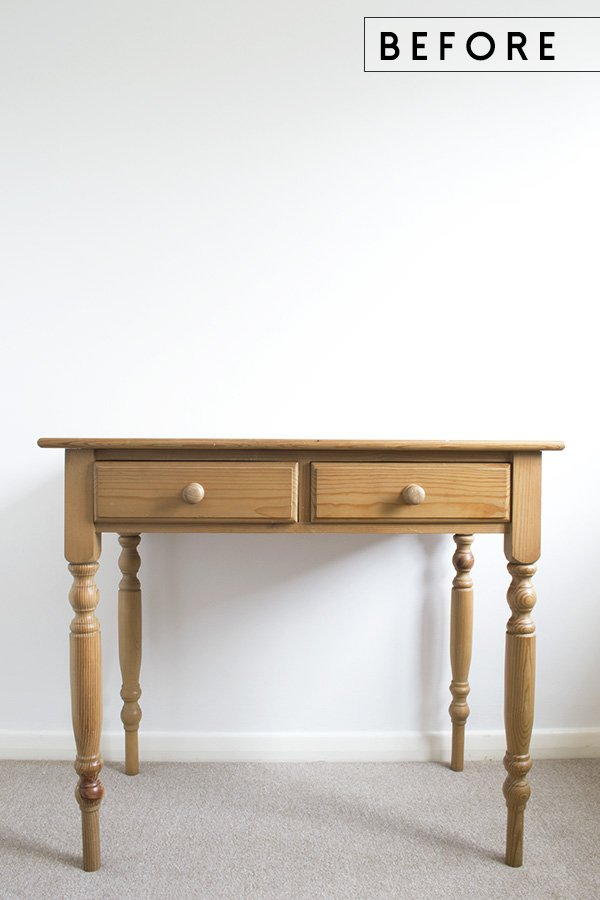 Here's how it started out. Sure, the shape is a little out-dated and most definitely well loved (I used to paint on the top-can you tell?!) but I thought with a little work it could actually become a real show-stopper.
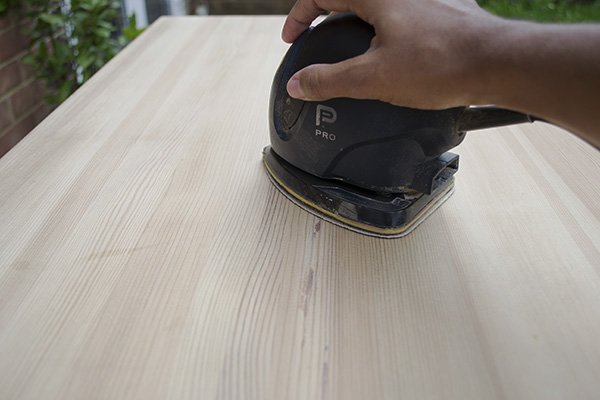
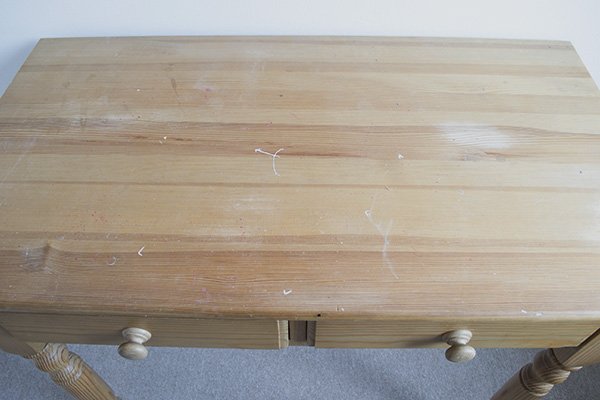 An afternoon outside with the sander lifted off the nasty flecks of paint and orange stain and left a beautiful pale grain that I wanted to keep.
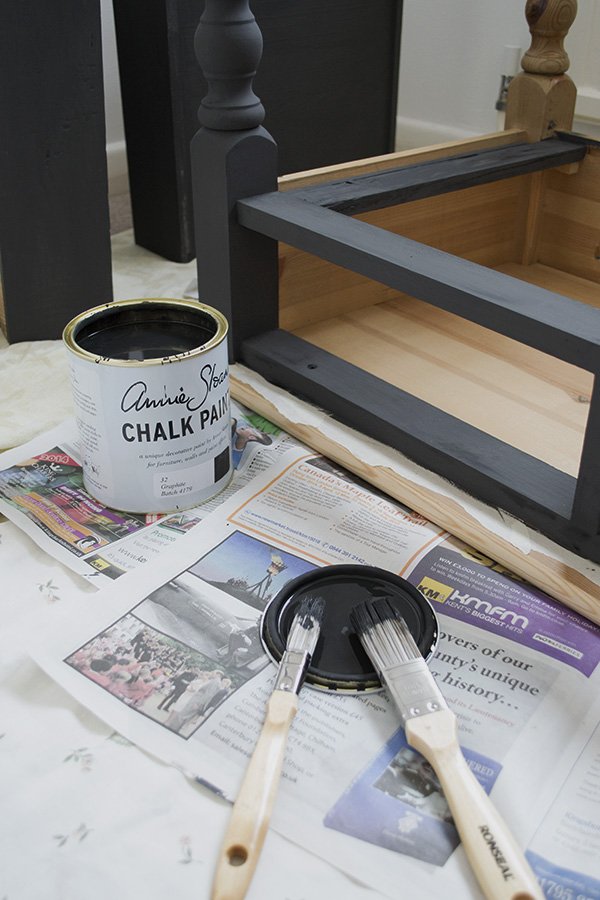
 Next up, I painted the base and drawers in Annie Sloan's Graphite which I watered down slightly to give a smoother finish (it dries quite quickly so you have to work fast). It's a beautiful, matt, not-quite-black and I chose not to wax it to keep a flat finish. Tip: if you want to go for a matt look, make sure you don't skip on quality with your brushes as the paint will pick up on that. After two coats the top was ready to wax.
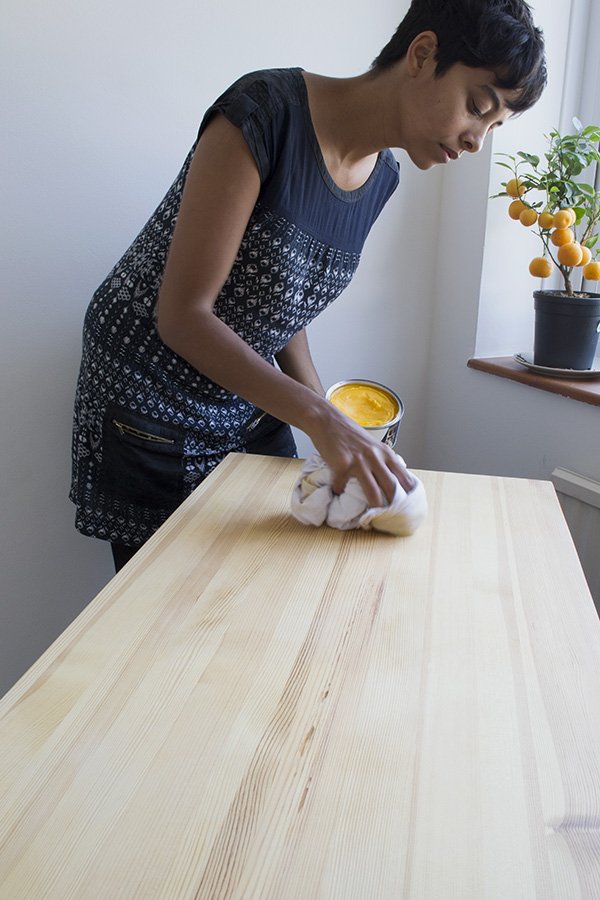
 I used a couple of coats of Liberon Black Bison clear wax to preserve the pale surface with a lint free cloth (yes, it's massive). The wax smelt amazing but more importantly it didn't add any shine to the top or affect the colour of the pine.
 The biggest game changer was the beautiful plywood knobs which came from Chocolate Creative - I had to get some plywood in there somewhere, right? I love that they're big and tactile and the grain in the centres picks up the top of the desk. Here's the finished article...
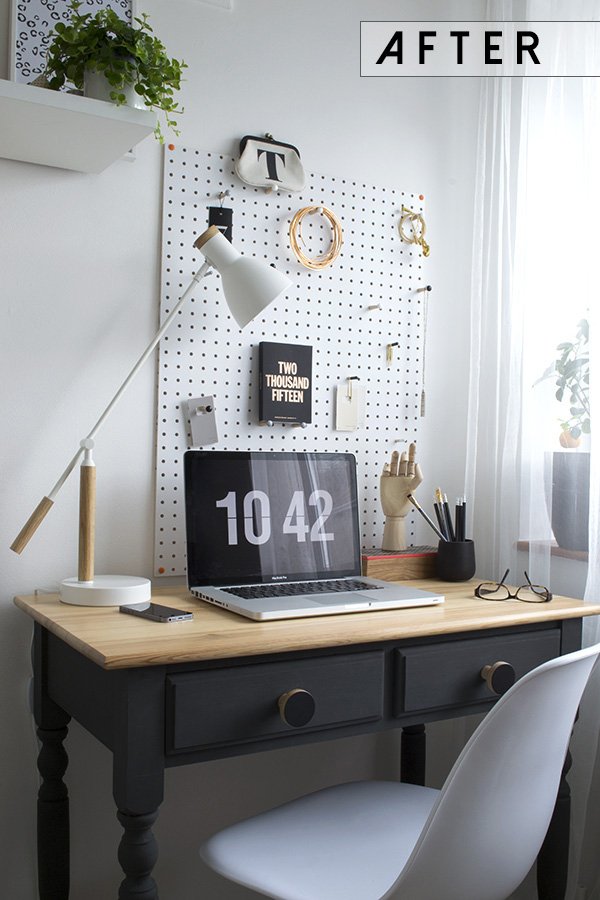 I should just take a minute to thank my brilliant father-in-law Bob The Builder (yes, his name is Bob and he is a retired builder) who was on hand over email to help me when I freaked out over which wax to use, how to use it etc. He really is a fountain of (almost all) knowledge.Do you have an old piece of pine furniture knocking around that could benefit from a little love? You might be surprised with the results...